
#Getting started
This walks the whole path once: install, connect an org, scan it, and get working credentials in a terminal. It takes about five minutes, most of which is the scan.
Sleipnir has the same walkthrough built in. Open ⚙ SETTINGS → HELP and pick First run to have the app point at each control as you go.
#1. Install
brew install --cask mpurdon/tap/sleipnir-aws
Apple Silicon, macOS Monterey or newer. The app is signed and notarized, so
it opens normally the first time — no right-click-Open, no xattr
incantation.
Launch it from Spotlight or the Applications folder, or from a terminal:
sleipnir
The cask puts sleipnir on your PATH, and it detaches from the terminal
on its own — you get your shell back and the app keeps running after you
close the window. That matters because engaged credentials are only
refreshed while the app runs.
#2. Add your organization
You need one thing from your AWS administrator: the start URL for your
IAM Identity Center, which looks like
https://your-company.awsapps.com/start. You also need the region Identity
Center is hosted in — often us-east-1, but ask if you are unsure.
In the rail, click + ADD ORG and fill in:
- Name — whatever you want to call it. This is just a label.
- Start URL — the SSO start URL above.
- Region — where Identity Center lives, not where your workloads run.
Save, and Sleipnir offers to log you in immediately.
#3. Log in
Logging in opens your browser to AWS's device-authorization page, where you approve the request. That is the only login you will be asked for until your organization's real SSO session expires — typically eight or twelve hours, set by your administrator.
The lamp next to the org name shows session health at a glance:
| Lamp | Meaning |
|---|---|
| Green | Session is alive; the label counts down the time left |
| Gold | Under 30 minutes left |
| Red | Expired — click the row to log in again |
More on this in Orgs & sessions.
#4. Scan the organization
After the org is added, SERVICES pulses in the rail — that is the next step. Open it and press SCAN.
Sleipnir lists every account your SSO assignment grants you, fetches the roles available on each, and groups them into services using your organization's naming convention. The progress meter counts accounts as they resolve, so you can watch it work rather than guess.
A large organization takes a minute or two. A small one takes seconds.
#5. Review before importing
Nothing is written until you say so. The review table is where you check the machine's guesses:
Each row is one service. The grey chips are the environments found for it, and the small name underneath is the alias — the AWS profile name you will type in terminals. Expand any row to see the underlying accounts and every role available on each.
Two things are worth your attention:
- ⚠ PICK ROLE means two or more roles map to the same mode — say both
PowerUserAccessandSSTPowerUserAccessclassify as poweruser. A sensible default is already selected; expand the row and click the other if it is the right one. Picks are per-environment, so choosing a role for SBX does not touch PRD. - Unchecking a row excludes it from the import. You can always re-scan later to pick up what you skipped.
When the table looks right, press IMPORT. Now your config is written.
Full detail in Discovery.
#6. Engage something
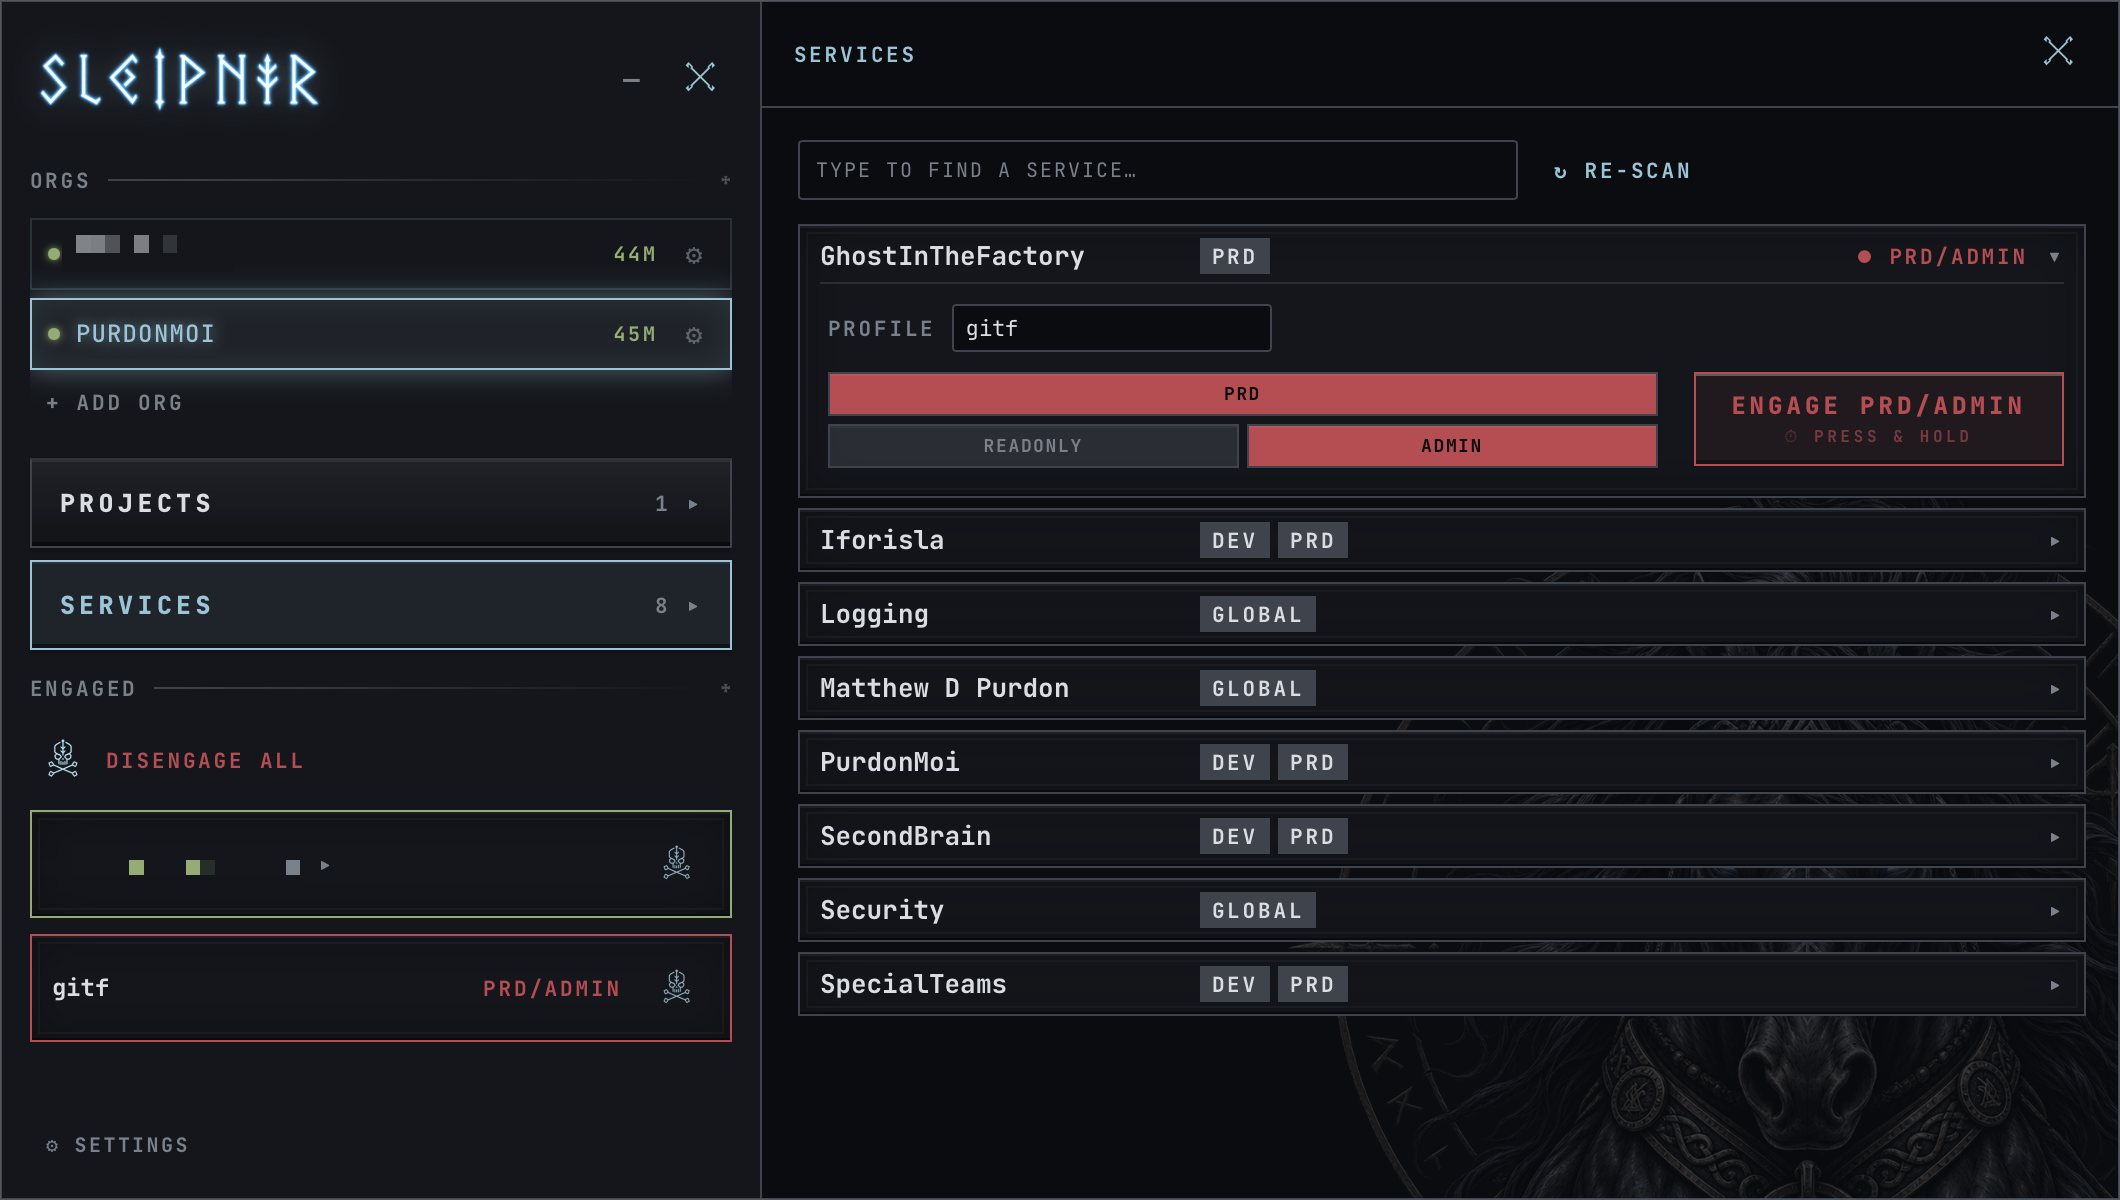
Open SERVICES, click a service to expand it, choose an environment and mode, and press ENGAGE.
Sleipnir fetches role credentials and writes them into
~/.aws/credentials under the service's alias. That is a real AWS profile,
so it works everywhere immediately:
aws sts get-caller-identity --profile core-services
You can verify without leaving the app, too: click an engaged profile in the rail and press ⚡ TEST CONNECTION. That shells out to the real AWS CLI and shows you the account and ARN it got back.
#7. Stand down
When you are finished, press the disconnect icon next to the profile — or DISENGAGE ALL to clear everything at once.
This physically removes the keys from ~/.aws/credentials. Nothing is left
behind that a stray script could pick up.
#What next
- Bundle the services you work on together into a project, so one click engages all of them.
- Read Safety before your first production engage — admin on production deliberately behaves differently.
- Skim Your AWS files if you have existing profiles or
another tool managing
~/.aws/config.